
As an Amazon Associate, we earn from qualifying purchases with no additional costs for you.
Cutting boards are an essential platform to use when cutting ingredients with your kitchen knives. How do you avoid getting knife marks on your cutting board to extend its life, and if you already have knife marks, how do you get rid of them?
Avoiding knife marks altogether on a cutting board is impossible, but you can minimize the damage by following a few simple steps, including selecting good-quality cutting boards. Knife marks can be removed from some cutting boards, but cheaper boards should be replaced when the marks are too deep.
Knife marks on a cutting board are inevitable, and you will get some knife marks on your boards during everyday use. You can take steps to minimize knife marks on the boards and use methods to restore your cutting boards when they get knife marks.
If you are interested in checking out the best wooden cutting board, we recommend a cutting board made by the Virginia Boys Kitchens company. You can find it by clicking here (Amazon link).

How To Avoid Knife Marks On Cutting Boards
The best way to approach knife marks on your cutting boards is to follow practices that will minimize your board sustaining these marks in the first place. The general statement, “prevention is better than the cure,” is relevant for taking care of your cutting boards.
Avoiding knife marks on your cutting boards altogether is impossible to achieve, but by following our recommended steps, you can minimize the marks left on your boards by regular use.
1. Choose A Good Quality Cutting Board
The steps to limit the knife marks on your cutting board start right at the beginning when you choose the cutting board to buy.
Cheap cutting boards are not meant to last and are made from lower-quality products that will be marked more easily by your knives.
Cheap cutting boards will not only become scratched more quickly, but they will also damage your knives and pose more of a health risk due to the deep scratches.
Higher-quality cutting boards are made from durable materials that are more resistant to marks from knife blades. These materials are also designed to limit the damage to the knife’s cutting edge, making your knives stay sharp for longer.
Selecting a board made from medium-hard wood is ideal if you prefer wood-cutting boards. Hardwood cutting boards are too hard and will dull your knives quickly, while softwood cutting boards will sustain too much damage from the knife’s edge and will not last long.
Maple wood (Amazon link) is an example of a good choice of wood to make cutting boards. Sugar maple or hard maple is popular, cost-effective choices.
Some other good wood choices for cutting boards include the following.
- Cherry wood
- Beech
- Acacia (Amazon link)
- Ash
- Walnut
- Pecan
- Teak
The wood grain in these wood types is fine or close-grained, making the wood more resistant to knife marks and bacteria penetration.
If you prefer a plastic cutting board, a board made from HDPE plastic is the better choice. As with wood cutting boards, cheap plastic cutting boards can be too hard or too soft. Hard plastic cutting boards will dull your knives, and soft ones are not durable enough.
The best plastic cutting boards are specially formulated to provide the right balance of resistance and durability to protect your knives and extend the life of the cutting board.
A plastic cutting board that makes an ideal choice is the Yoshihiro Hi-soft Professional Grade Cutting Board (Amazon link), made by a knife manufacturer and formulated to be resistant to knife marks, protect your knives and promote the board’s longevity.
TIP: The choice of cutting board material is critical, especially if you have expensive kitchen knives or knives with specific cutting board requirements. Check out the best ones in the article below:
3 Best Cutting Boards For Your Knives (Materials Compared)
2. Season Your Cutting Board
Seasoning a plastic cutting board is unnecessary, but it is a crucial maintenance step if you own a wood cutting board.
Seasoning your wood cutting board provides a protective layer on the wood fibers, increasing their resistance to marks from the knife blade.
Some cutting boards come pre-seasoned, but you must re-season your cutting board periodically to restore this protective coating on the wood.
The oil used to season the boards soaks into the wood fibers, giving them a slightly elastic quality and allowing them to flex slightly under the knife’s pressure. This limits the knife’s sharp edge’s damage to the wood fibers.
So, what is the best method of seasoning your cutting board? Food-grade mineral oil is the best option to protect the wood without the risk of contaminating the food you prepare on the board.
We recommend Thirteen Chefs Mineral Oil (Amazon link), which does an excellent seasoning job on wooden cutting boards.
3. Use Sharp Knives To Limit Marks On Cutting Boards
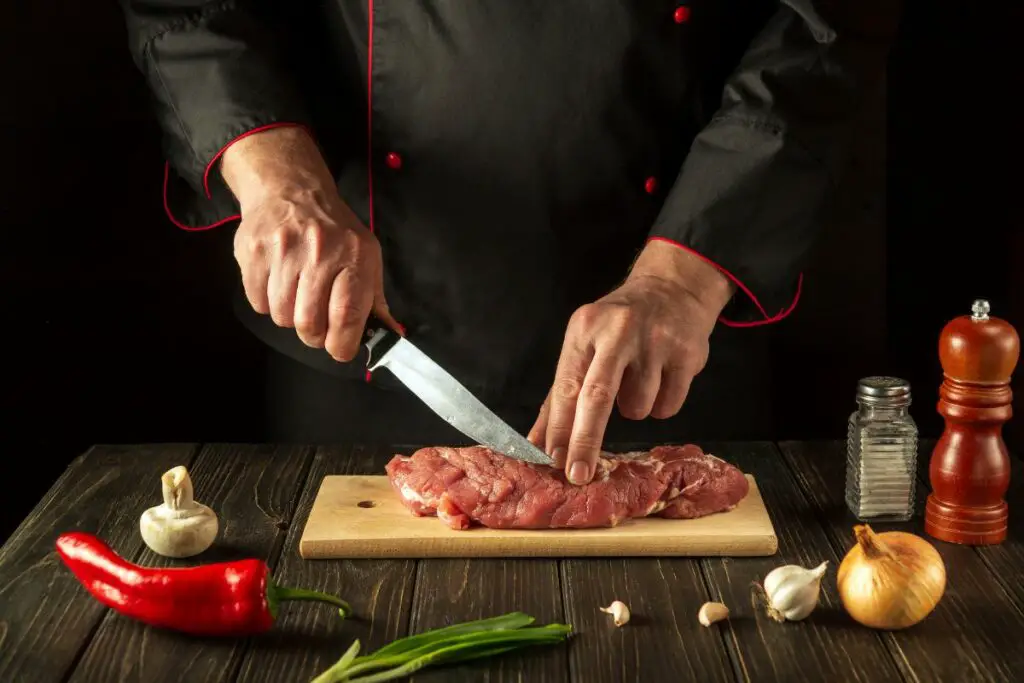

Another aspect to consider for limiting knife marks on your cutting boards is the sharpness of your knives.
Sharp knives require less pressure to cut through the ingredients you are preparing. This makes food prep more accessible and reduces the force with which the knife edge impacts the cutting board once it has passed through the food.
Reducing the force impact of the knife on the board preserves the knife’s sharpness but also prevents the knife from gouging into the wood fibers and leaving marks on the cutting board’s surface.
Keep your knives sharp to extend the life of your cutting board, reduce marks on the cutting board, and make working with knives in the kitchen safer.
We have an article, “10 Reasons Why A Sharp Knife Is Safer Than A Dull One,” which details why a sharp knife is safer to work with than a knife with a dull edge.
4. Do Not Soak Your Cutting Board
Cleaning a cutting board is a vital hygiene task in the kitchen to keep your cutting board germ-free and safe for preparing food.
Cleaning the cutting board can affect the integrity of the wood and make it more susceptible to being marked by your knives.
It would be best if you never soaked your wood cutting board in water to clean it. Soaking the cutting board removes the seasoning, which provides a protective layer for the wood.
Water penetrating the wood causes the fibers to expand and soften, making them more susceptible to sustaining damage from the knife’s sharp edge.
The expanded wood grain also has other implications for your cutting board. The more expansive spaces in the wood grain allow bacteria to penetrate the wood, which can pose a health risk for food preparation. The wood can expand to the point where the wood cracks, destroying the cutting board.
Another lousy practice for wood cutting boards is washing them in the dishwasher. The combination of heat and high-pressure water strips the seasoning from the wood and forces water deep into the wood grain.
This can warp the cutting board, cause the wood to split, and make it more likely to be damaged when using a knife on the board.
The best method of cleaning a wood cutting board is to give it a quick handwash with warm water and a cloth. Wipe off the excess water and airdry the cutting board before packing it away.
To sterilize the cutting board, use a 4:1 mixture of water and white vinegar in a spray bottle. Spray the cutting board and wipe it down immediately with a cloth. Rinse and dry the cutting board before storing it.
TIP: Any surface used in the kitchen for food preparation must be kept scrupulously clean. Check out the best methods to clean wooden and bamboo cutting boards in the article below:
4 Proven Methods: Cleaning Wooden & Bamboo Cutting Boards
How To Get Rid Of Knife Marks On Cutting Boards
We have spoken about methods to avoid or limit knife marks on your cutting board, but what can you do if your cutting board already has knife marks?
Can these marks be removed to restore the board, or should you replace the cutting board? The answer is not as straightforward as it appears and depends on the cutting board you have.
If your cutting board is a low-cost version, it is not worth restoring, and you should consider replacing it with a better-quality board.
The restoration process on a cheap cutting board will often degrade the board further and make it more susceptible to damage or unsuitable for food preparation.
Quality cutting boards are a different prospect and are worth the effort to restore the surface to extend the usable life of the board.
How To Remove Knife Marks On Wood Cutting Boards

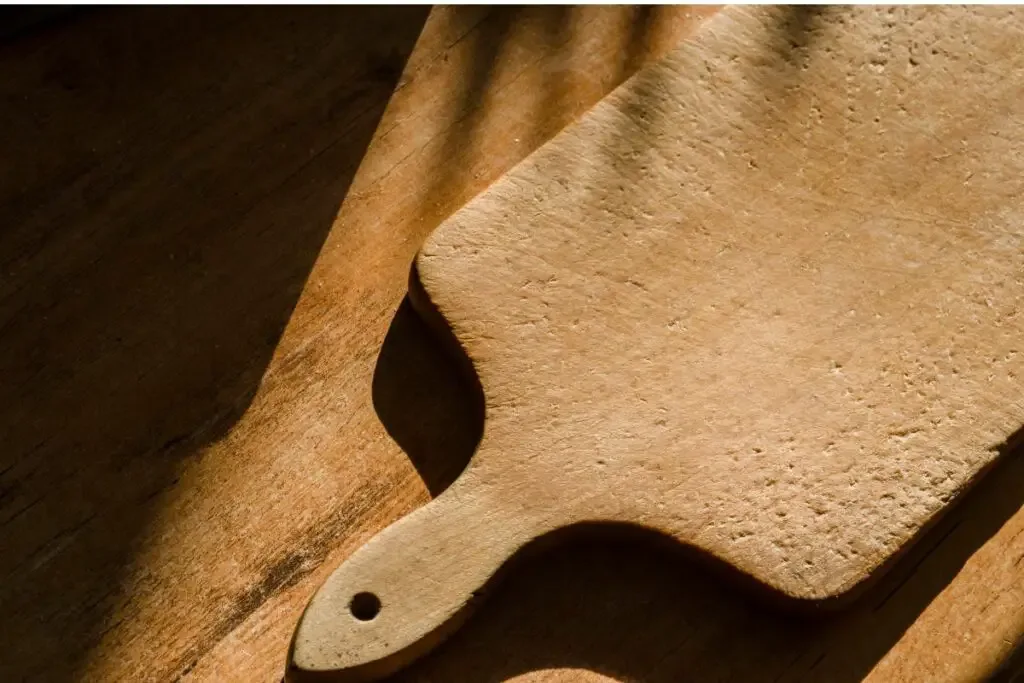
Wood cutting boards are more accessible to re-condition than plastic boards, which is another reason many prefer the wood option.
Follow these steps to remove the knife marks from the board and restore the surface.
1. Sand Out The Scratches On The Cutting Board
Your cutting board should be clean and dry before you start re-conditioning the surface. If you have recently washed the board, give it at least 30 minutes to dry completely before starting work on the board.
A low-grit, coarse sandpaper is the best method to remove deep scratches on the cutting board. I recommend starting with 80-grit sandpaper, which makes short work of the worst scratches.
Always sand with the wood grain to avoid adding new scratches to the wood with the sandpaper. You can use the sandpaper by hand, but you will get better, quicker, and more precise results if you use a sanding block (Amazon link) or a scrap piece of wood as a backing for the sandpaper.
The sanding process will go a lot quicker if you use a power tool such as a random orbital sander (Amazon link) to take some of the labor out of the task.
Once you are happy that most of the deep cuts and scratches are removed, move on to the next step.
2. Smooth The Cutting Board Surface
The next step is to repeat the sanding process with higher-grit sandpaper; my recommendation is 120-grit sandpaper.
Wipe all the sanding dust off the board before starting the sanding with the next-level grit sandpaper. This clears the surface and gives you a clear view to ensure you don’t miss any spots. Use a damp cloth to wipe the dust away.
The 120-grit sandpaper will smooth the surface even further and remove the scratches left by the coarse 80-grit sandpaper.
You will feel a noticeable difference in the smoothness of the surface once you have completed sanding with the 120-grit paper.
3. Refine the Cutting Board Surface
The final sanding step is to refine the board surface and get it to the level of smoothness that you like. Clean the sanding dust off the cutting board and repeat the sanding process with 220-grit sandpaper.
You can take the finish to the next level with 400-grit sandpaper as the final touch, or you can leave the finish at the 220-grit level.
At this point, the cuts and knife marks should all be removed from the cutting board surface, and the board is ready for the next step.
BTW: If you are interested in buying the best cutting board, you can find our recommendations below:
- The best overall: Virginia Kitchen Boys Cutting Board (Amazon link). This fantastic cutting board is made from sustainable walnut wood from the United States and brings almost perfect safety when cutting with your knives.
- Alternative: Yoshihiro Cutting Board (Amazon link). Professional traditional Japanese cutting board that chefs around the world use.
- Cheaper option: Shun Cultery Cutting Board (Amazon link). Another Japanese cutting board stands out, especially for its simplicity and affordable price.
4. Wash and Dry The Cutting BoardWa
Wash the cutting board to remove the last traces of sanding dust from the board’s surface. Washing the board in the usual way using warm water and a little dishwashing soap with a dishcloth is sufficient to clean the board.
Wipe the board dry and allow it to air dry for at least 30 minutes before the final step.
5. Season The Cutting Board
Season the cutting board well with good quality, food-grade mineral oil. Season both sides of the board and allow the board to sit for about 15 to 20 minutes for the oil to soak in.
Give the board another coating of mineral oil and let it sit for 15 to 20 minutes. Wipe off the excess oil, and the board is ready for service.
These steps will make the board look almost as good as new again, extend the life of the board, and reduce the risk of food contamination.
TIP: Various types of cutting boards are available, including plastic. How does plastic rate as a cutting board material, and will it damage your knives? Find out the answer in the article below:
4 Reasons Why Plastic Cutting Boards Are Bad For Knives
How To Remove Knife Marks On Plastic Cutting Boards
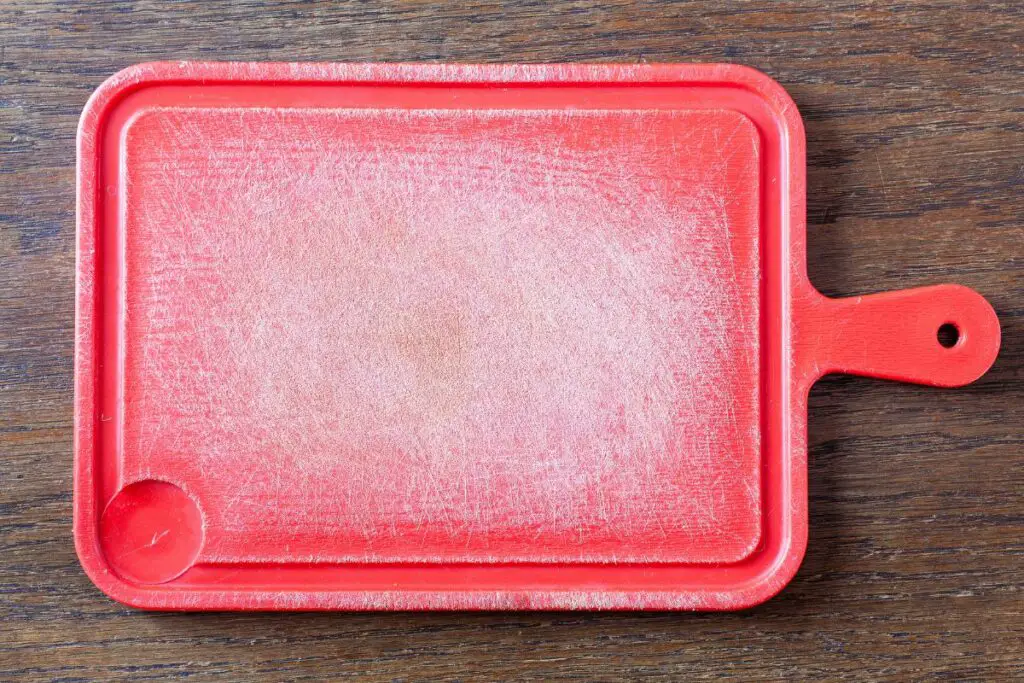

There is some controversy about whether removing knife marks on a plastic cutting board is worthwhile or safe.
Most plastic cutting boards come with a textured surface to assist in keeping the food in place on the board while it is cut.
Restoring the surface can remove the textured surface while removing the knife marks. This may make the board more difficult to use if the ingredients slip around on the cutting surface.
Some people also contend that the sanding process introduces fine scratches on the surface of the plastic, making it more prone to bacterial contamination than the significant scratches left by the knife.
The more significant scratches are easier to clean and sanitize than the micro scratches left by sandpaper on the board’s surface.
How To Resurface A Plastic Cutting Board
Resurfacing a plastic cutting board is similar to that of a wooden cutting board, but different sandpaper grits are used.
Follow these steps to remove knife marks from your plastic curring board.
- Wash the cutting board. Wash and dry the cutting board to ensure you start with a clean one.
- Scrub the board with steel wool. Use steel wool to scrub the cutting board and remove any raised pieces of plastic.
- Sand the cutting board with 25-grit sandpaper. Sand the board’s surface with 25-grit sandpaper to remove the worst of the scratches.
- Sand the board with 50-grit sandpaper. Repeat the sanding process with 50-grit sandpaper.
- Finish the sanding with 80-grit sandpaper. Give the cutting board surface a final sanding with 80-grit sandpaper.
- Scrape the edges of the board with a blade. Use a sharp utility knife or blade to scrape plastic burrs off the edges of the cutting board.
- Wash the board thoroughly. Wash the cutting board with dishwashing soap and water to remove all the sanding dust.
This process should sufficiently re-condition the board’s surface and give it new life!
FAQs: Cutting Board Care and Maintenance


Q: How often should I season my wooden cutting board?
A: Wooden cutting boards should be seasoned regularly to maintain their quality and longevity. It’s recommended to season a new board every day for the first week, once a week for the next month, and then once a month thereafter.
However, if you use your board heavily, you might need to season it more frequently.
Q: Can I put my cutting board in the dishwasher?
A: It’s generally not recommended to put wooden cutting boards in the dishwasher as the heat and moisture can cause warping, cracking, and deterioration of the wood.
Plastic cutting boards are often dishwasher safe, but it’s best to check the manufacturer’s instructions for your specific board.
Q: What’s the best way to clean a cutting board after cutting raw meat?
A: After cutting raw meat, it’s essential to clean your cutting board thoroughly to avoid cross-contamination. Use hot, soapy water to scrub the board, then rinse it with hot water.
For extra sanitation, you can use a solution of 1 tablespoon of unscented, liquid chlorine bleach in a gallon of water.
Q: How can I tell when it’s time to replace my cutting board?
A: Replace your cutting board if it has deep grooves where bacteria can reside, if it’s warped or cracked, or if it’s become rough and difficult to clean. These signs indicate that the board can no longer be effectively cleaned and could pose a health risk.
Q: Is it better to use wooden or plastic cutting boards?
A: Both wooden and plastic cutting boards have their advantages. Wooden boards are generally more durable and gentle on knives, but they require more maintenance.
Plastic boards are easier to clean and are often dishwasher safe, but they can dull knives faster and may need to be replaced more frequently.
Q: Can I use the same cutting board for meat and vegetables?
A: It’s advisable to use separate cutting boards for raw meat and vegetables to prevent cross-contamination. If you only have one board, thoroughly clean and sanitize it between uses for different food types.
Q: What’s the best way to store my cutting board?
A: Store your cutting board in a dry, ventilated area. Avoid storing it flat if it’s wet, as this can promote warping and mold growth. Standing it on its edge is often the best way to store it, especially if it’s still drying.
Q: Can I repair a warped cutting board?
A: It’s challenging to repair a warped cutting board, but you can try laying it flat, covering it with a damp cloth, and then placing a heavy object on top for a few days. However, this doesn’t guarantee that the board will return to its original shape.
Q: What type of oil should I use for seasoning a wooden cutting board?
A: The best oil for seasoning a wooden cutting board is food-grade mineral oil. It’s odorless, colorless, and won’t go rancid. Avoid cooking oils like olive or vegetable oil, as these can spoil and impart odors to your board.
Q: How do I remove stains from my cutting board?
A: For wooden boards, sprinkle coarse salt over the board, then rub it with a cut lemon. For plastic boards, a baking soda paste can be effective. Rinse thoroughly after cleaning. For stubborn stains, a diluted bleach solution can be used, but rinse the board well afterward.
Conclusion
Good quality cutting boards are the primary key to reducing the damage your knives will do to the board’s surface. Propper care and maintenance cover the rest of the steps to avoid knife marks.
Scratches in the cutting board can be removed by sanding the surface with varying sandpaper grits and re-seasoning the board.
TIP: A cutting board should always be used when using knives in the kitchen. Check out the main reasons in the article below:
7 Crucial Reasons Why You Should Always Use A Cutting Board
