
As an Amazon Associate, we earn from qualifying purchases with no additional costs for you.
Most people don’t realize that the handle of a Japanese knife is just as important as the blade when it comes to using the knife. In the Japanese knife designs, as much thought goes into the handle design as into the blade design of the knife. The shape and feel of the handle of a knife can, in fact, make or break your experience regarding using the knife in the kitchen. So, if the handle on your knife breaks, you may wonder how to replace a Japanese knife handle.
To replace the handle on your Japanese knife:
- Purchase a replacement knife handle.
- Remove the old handle.
- Clean the blade and tang thoroughly.
- Apply epoxy to the slot in the handle.
- Fit the handle to the knife.
- Wipe away epoxy squeeze out.
- Clamp the handle in place to dry overnight.
Japanese knives are very different from Western-style knives and require a special type of care. This goes for the handle of the knife as well as the blade. The most common issue with Japanese knives is that they need their handles replaced periodically.
This may be because the handle is worn and has come off, or it has broken and needs replacement. We will cover how to replace a Japanese knife handle so you’ll be able to get it back into use in your kitchen without any worries!
If you are interested in checking out the best Japanese knives (made by Hayate Yoshihiro) we recommend and use you can find them by clicking here (Amazon link).


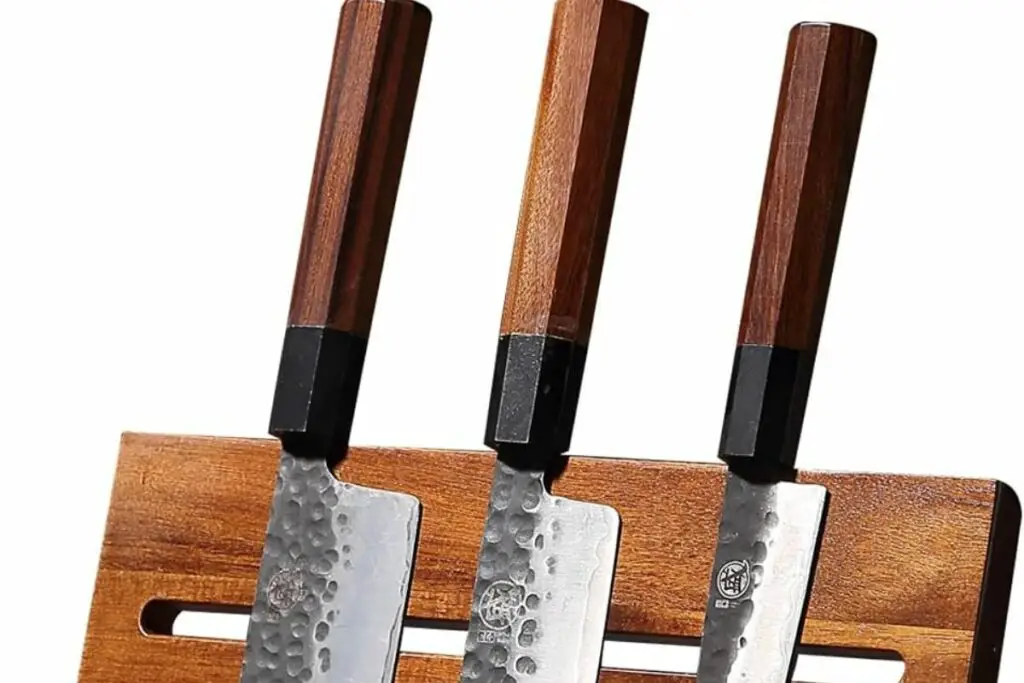
Japanese Knife Handle Types
Japanese knives can have several different shaped handles, from oval to D-shaped and hexagonal or Wa-shaped. However, the shape of the handle for the purposes of replacing the handle is of less importance than the way that the handle is fitted.
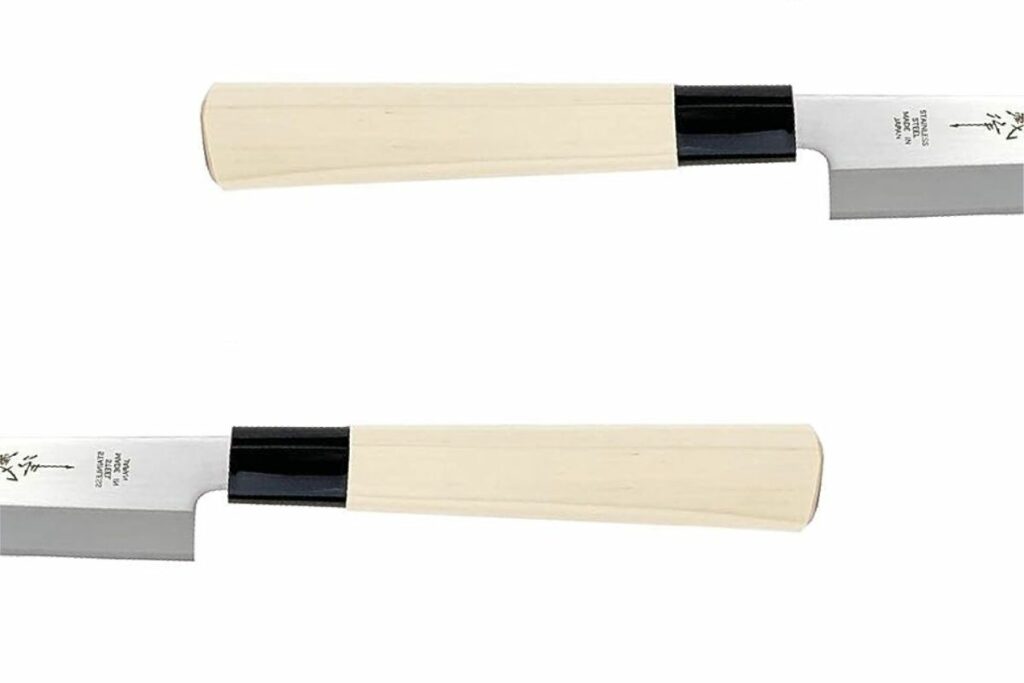
Most Japanese knives use the hidden tang design handle. What this means is that the metal knife handle does not extend all the way through the handle, and it is not visible in the handle construction at all.
Not all Japanese knives have a hidden tang design handle. Some have full tang knives, where the metal tang of the knife extends all the way through the handle.
In this case, the handle is made in two halves that are called scales and are fitted to either side of the tang and held in place with rivets, pins, or epoxy, or a combination of these securing methods.
The process that we will be covering to replace the handle will be for the traditional hidden tang knife.
In a hidden tang knife, the handle part of the steel called the tang is tapered to fit inside the handle and extend into the handle to about a third of the length of the handle.
When Japanese knives are made, a slot is cut into the wooden handle material that is slightly smaller than the tapered tang of the knife.
The tapered tang is then heated up in a forge, and the hot tang is inserted into the slot on the handle. The handle is then tapped with a mallet to seat the handle onto the tang.
The hot tang burns into the wood and forms a very snug fit into the handle of the knife. Now that we know how the handle was fitted originally, how do you fit a new handle to the knife?
TIP: When you buy a new knife, do you sharpen it or do you use a sharpened knife as you bought it? Find out more if you need to sharpen new knives or not in the article below:
Do You Need To Sharpen A Brand New Knife? Here’s the Answer
How To Replace The Handle On a Japanese Knife

Replacing the handle on your Japanese knife can be done without the need for any complicated tools or machinery.
You can use different methods to do the replacement of the handle, such as sticking to the original handle fitment method or using some methods that are a bit easier to achieve.
The method that we are detailing to replace the handle on a Japanese knife is one way to do it. There are other methods, but we have chosen to include the method that will require the least amount of specialized tools to get the job done.
Even though you don’t need specialized tools, you will need some equipment to replace the handle on the knife.
- Mallet. This is useful to remove the old handle and to seat the new handle in place.
- Vise. A bench vise for this process is a very useful tool to hold the knife while you work with both hands. It is also useful to hold the knife while it is clamped while the epoxy dries.
- Epoxy. A two-part epoxy that you mix is the best adhesive to use to secure the handle to the tang of the knife.
- Acetone. Acetone is useful to clean up any epoxy squeeze out once the handle has been fitted.
- A clamp. A clamp that is large enough to clamp the handle in place while the epoxy dries is important to make sure the bond is strong.
- Old clothes. Old clothes such as an old t-shirt are useful to have around to wipe away any epoxy squeeze out when the handle is fitted to the knife.
TIP: Broken knife blade – a nightmare for every owner of Japanese knives. Unfortunately, it happens to everyone. However, we know a solution to this problem. Check out the step-by-step guide on how to fix a broken knife blade in the article below:
Step-by-Step: How To Fix A Broken Knife Blade In 5 Steps
These are the minimum tools and equipment that you will need to replace the handle on your Japanese knife. As you can see, the list does not require any fancy tools. Most home garages will have this equipment in them already, which will help to keep the costs down.
This is the process that you can follow to replace the handle on the knife.
- Purchase a replacement knife handle.
To replace the handle on your knife, you will need to source a replacement handle. Make sure that you get a handle that is of the same length and dimensions as the original handle on the knife.
Japanese knives are built with a particular balance in mind depending on the purpose of the knife. Putting on a different-sized handle will affect the balance of the knife.
- Remove the old handle.
The way to do this will be different depending on how the handle was fitted. If the handle used the heated tang method, then the handle should come off if gently tapped with a mallet. If the handle was glued on, you could still remove it with a mallet, but it may require more force.
- Clean the blade and tang of your Japanese knife thoroughly.
It is important to clean the tang of the knife with attention to detail to make it as pristine and possible. All old adhesives and bits of wood must be cleaned completely from the tang. Finally, wipe the tang down with some acetone to remove any grease or oils from your skin that may have transferred to the metal.
- Apply some epoxy to the slot in the handle.
The best type of epoxy to use is a two-part epoxy that you mix in equal measures. One part is a resinous mixture, and the other is a hardening agent that will cause the epoxy to set very hard. Mix the epoxy and fill the cavity in the handle to about three-quarters full.
- Fit the handle to the knife.
Push the handle onto the tang of the knife and gently tap into place with a mallet. Make sure that the handle is oriented correctly.
- Wipe away any epoxy squeeze out.
There will be some epoxy squeeze out as you push the tang into the handle slot. Wipe away any squeeze out with a cloth, making sure not to spread any epoxy over the blade or handle. Finally, wipe away residual epoxy with a cloth that is dabbed with some acetone. The acetone will dissolve any remaining epoxy on the outside of the knife and handle.
- Clamp the handle and blade in place and dry overnight.
Use a clamp to hold the handle firmly in place against the knife and leave the clamp in place while the epoxy dries overnight. Go not crank down on the clamp since this will squeeze out more epoxy than is necessary, weakening the bond between the tang and the handle.
BTW: If you want to know more about Japanese and other knives and their sharpening, check out the books listed above. These books are recommended by professional sharpeners and knife makers (Amazon links):
- Japanese Kitchen Knives: Essential Techniques and Recipes
- The Knifenerd Guide to Japanese Knives
- Knife: The Culture, Craft, and Cult of the Cook’s Knife
- Sharp: The Definitive Introduction to Knives, Sharpening, and Cutting Techniques, with Recipes from Great Chefs
Additional Information For Replacing A Knife Handle

In the interest of completeness, we have included some additional information you may find useful when replacing the handle on your Japanese knife.
What is a tang in a Japanese knife? The tang is the part of the blade that extends into the handle of the knife. In Japanese knives, it can be a hidden tang, where it doesn’t extend all the way through the handle, or a full tang, where it does.
Can I replace the handle of any Japanese knife? Most Japanese knives allow for handle replacement, but it’s essential to understand your knife’s specific design and construction. Always consult the manufacturer’s guidelines or a professional if unsure.
What type of epoxy should I use to replace the handle? A two-part epoxy, consisting of a resinous mixture and a hardening agent, is recommended for securing the handle to the tang of the knife. It sets very hard, ensuring a strong bond.
Can I use a different handle shape or size when replacing my Japanese knife handle? Using a handle that matches the original length and dimensions is advisable, as Japanese knives are built with a particular balance in mind. A different-sized handle may affect the knife’s balance and performance.
How long does it take for the epoxy to dry? It’s recommended to leave the epoxy to dry overnight. Make sure to follow the specific instructions on the epoxy packaging for the best results.
What if I don’t have a mallet or vise? Can I still replace the handle? While a mallet and vise are very useful tools for this process, you may be able to use alternatives with caution. However, using the recommended tools ensures a more secure and precise fit.
Is it safe to replace a Japanese knife handle at home? Yes, replacing a Japanese knife handle at home is doable with the right tools and careful attention to the instructions. Always prioritize safety, especially when handling sharp blades and chemicals like epoxy and acetone.
Conclusion
Whatever your reasons are for needing to replace the handle on your Japanese knife, the process can easily be done at home. There are many ways to attach the handle, and the method may vary a little depending on the method used on your particular knife.
With a few basic garage tools and some epoxy, you should have your new handle fitted to your knife in no time at all and have it performing in the kitchen once again!
TIP: When you buy a Japanese knife, it is important to take care of it properly. Check out the ultimate guide on the care of Japanese knives in the article below:
How To Care For Japanese Knives: The Complete Guide